Setting up the NMEA 2000 network is easier than I had assumed.
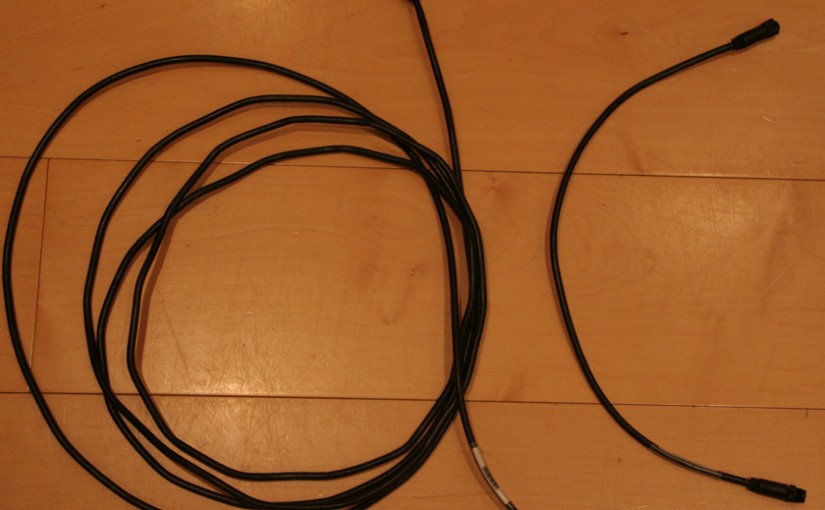
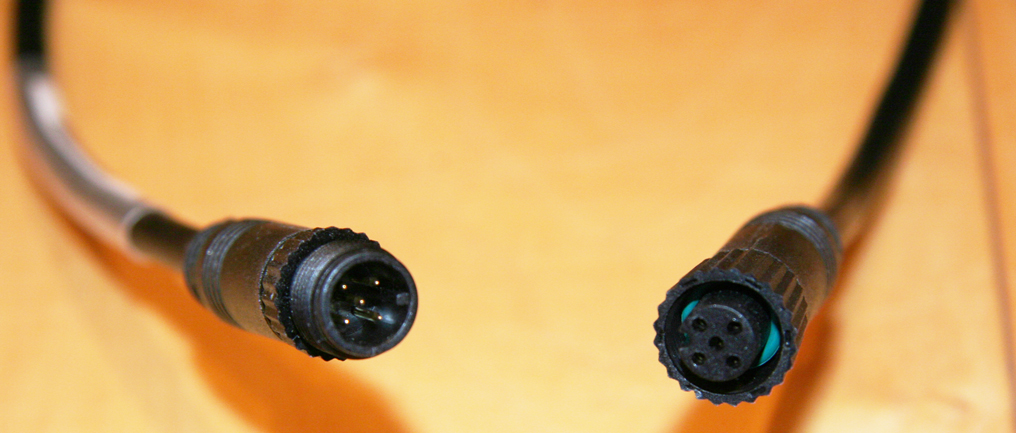
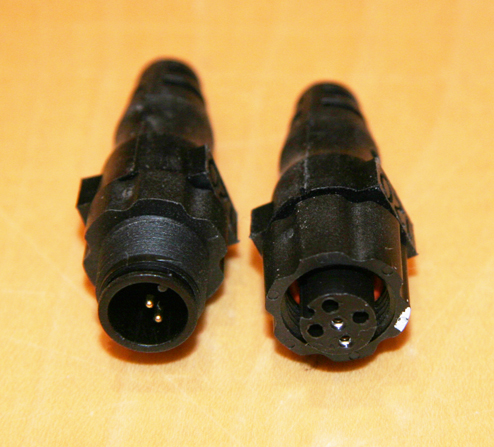
- You need special cable which has a male Micro-C plug on one end and a female Micro-C plug on the other end.
These cables cost a fortune and come in different lengths.
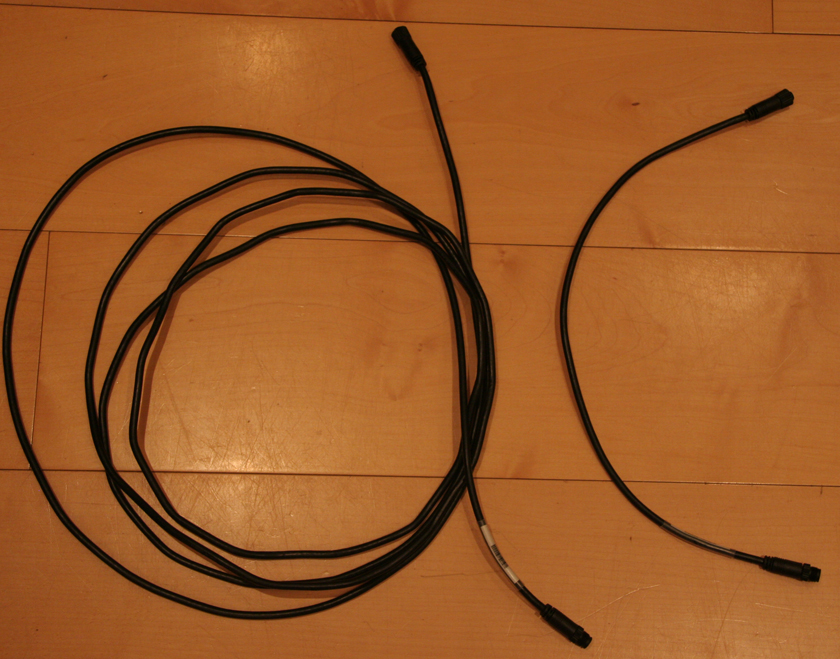
There are also cables with plugs to be mounted “on-site” when installing the cable onboard. There is no real alternative to buying thes ready-to-use cables even if you are good at soldering since the naked cable and the plugs are even more expensive than the assembled ones.
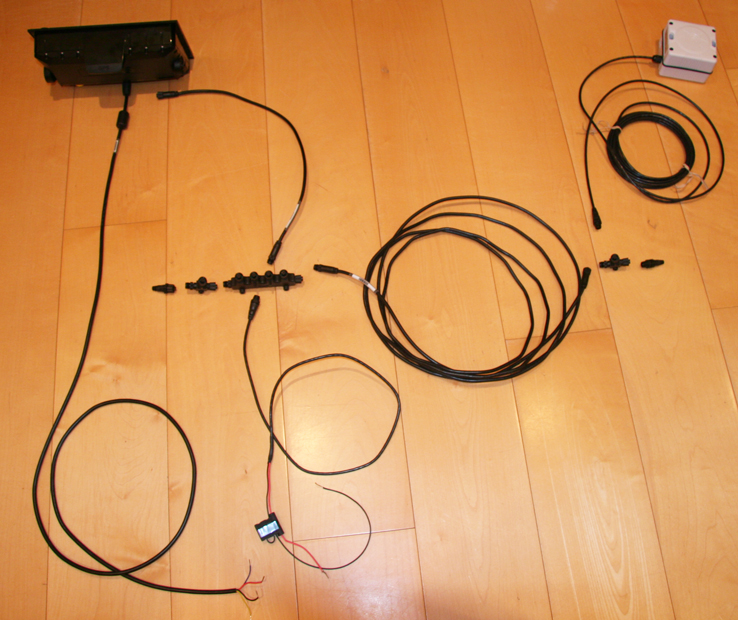
- You set up a cable (backbone), from one end of the vessel to the other end. This cable is terminated on either side by end-connectors which are special plugs with a resistor build in.
- Several T-pieces
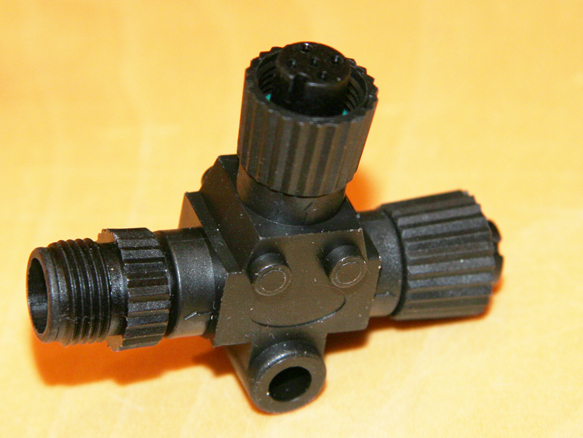 or 4-way connectors
 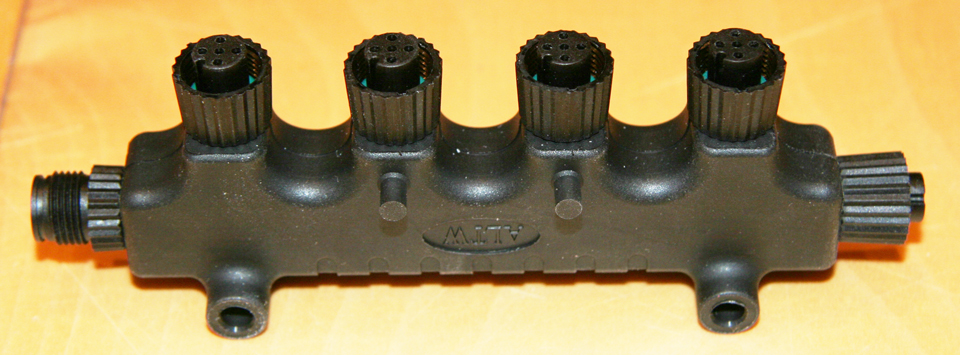 are inserted into the backbone. So the backbone in fact consists of several lengths of cables connecting all T-pieces and 4-way-connectors.
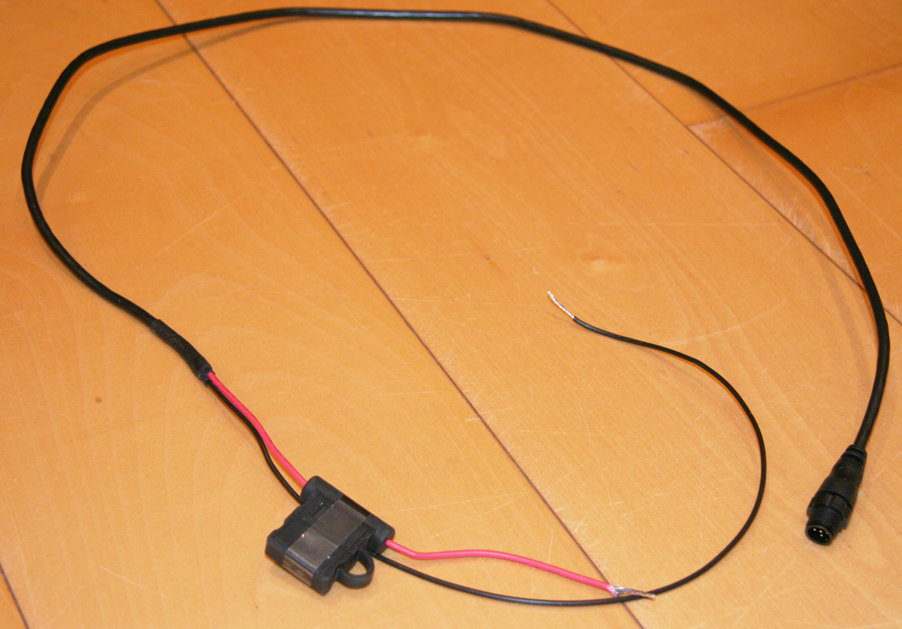
 - into one of the T-pieces in the middle of the Backbone a cable for the 12V- power supply of the NMEA-2000-devices is plugged in.
- All NMEA 2000 Units are just connected to the t-pieces of the Backbone. Here are shown the chart plotter and the rate compass.
 and that is it. All Units can talk and listen to each other via this System.
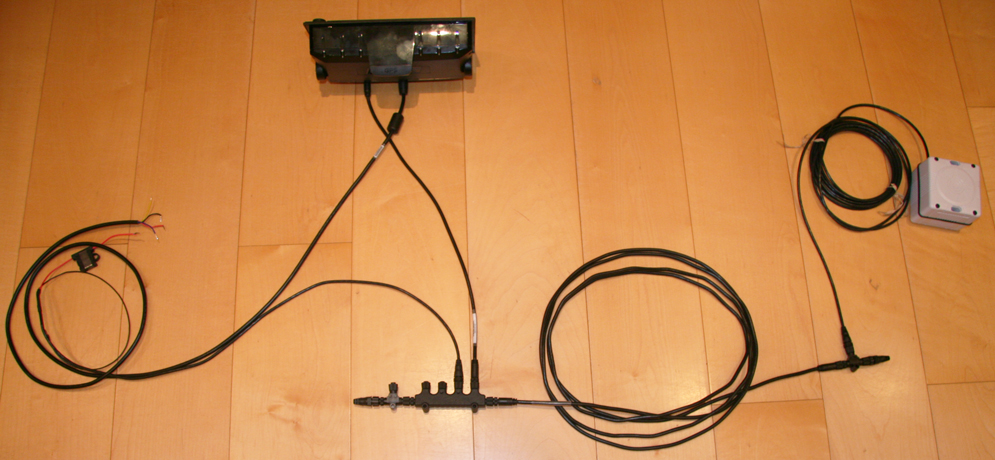
NMEA2000 / Raymarine SeatalkNG / Raymarine Seatalk Hybrid
All Raymarine instruments were connected via Seatalk connections. A Seatalk to SeatalkNG converter kit was used to interface Wind, log and depth sounder data with the NMEA2000 Network. SeatalkNG uses the same format as NMEA2000. A connecting cable between the SeatalkNG and the NMEA2000 system was soldered by cutting one cable of each standard in half and soldering the wires together thus creating a SeatalkNG / NMEA2000 connecting cable. At the end of the SeatalkNG backbone a SeatalkNG end terminator (resistor) was used and on the NMEA2000 side a B&G terminator was used.