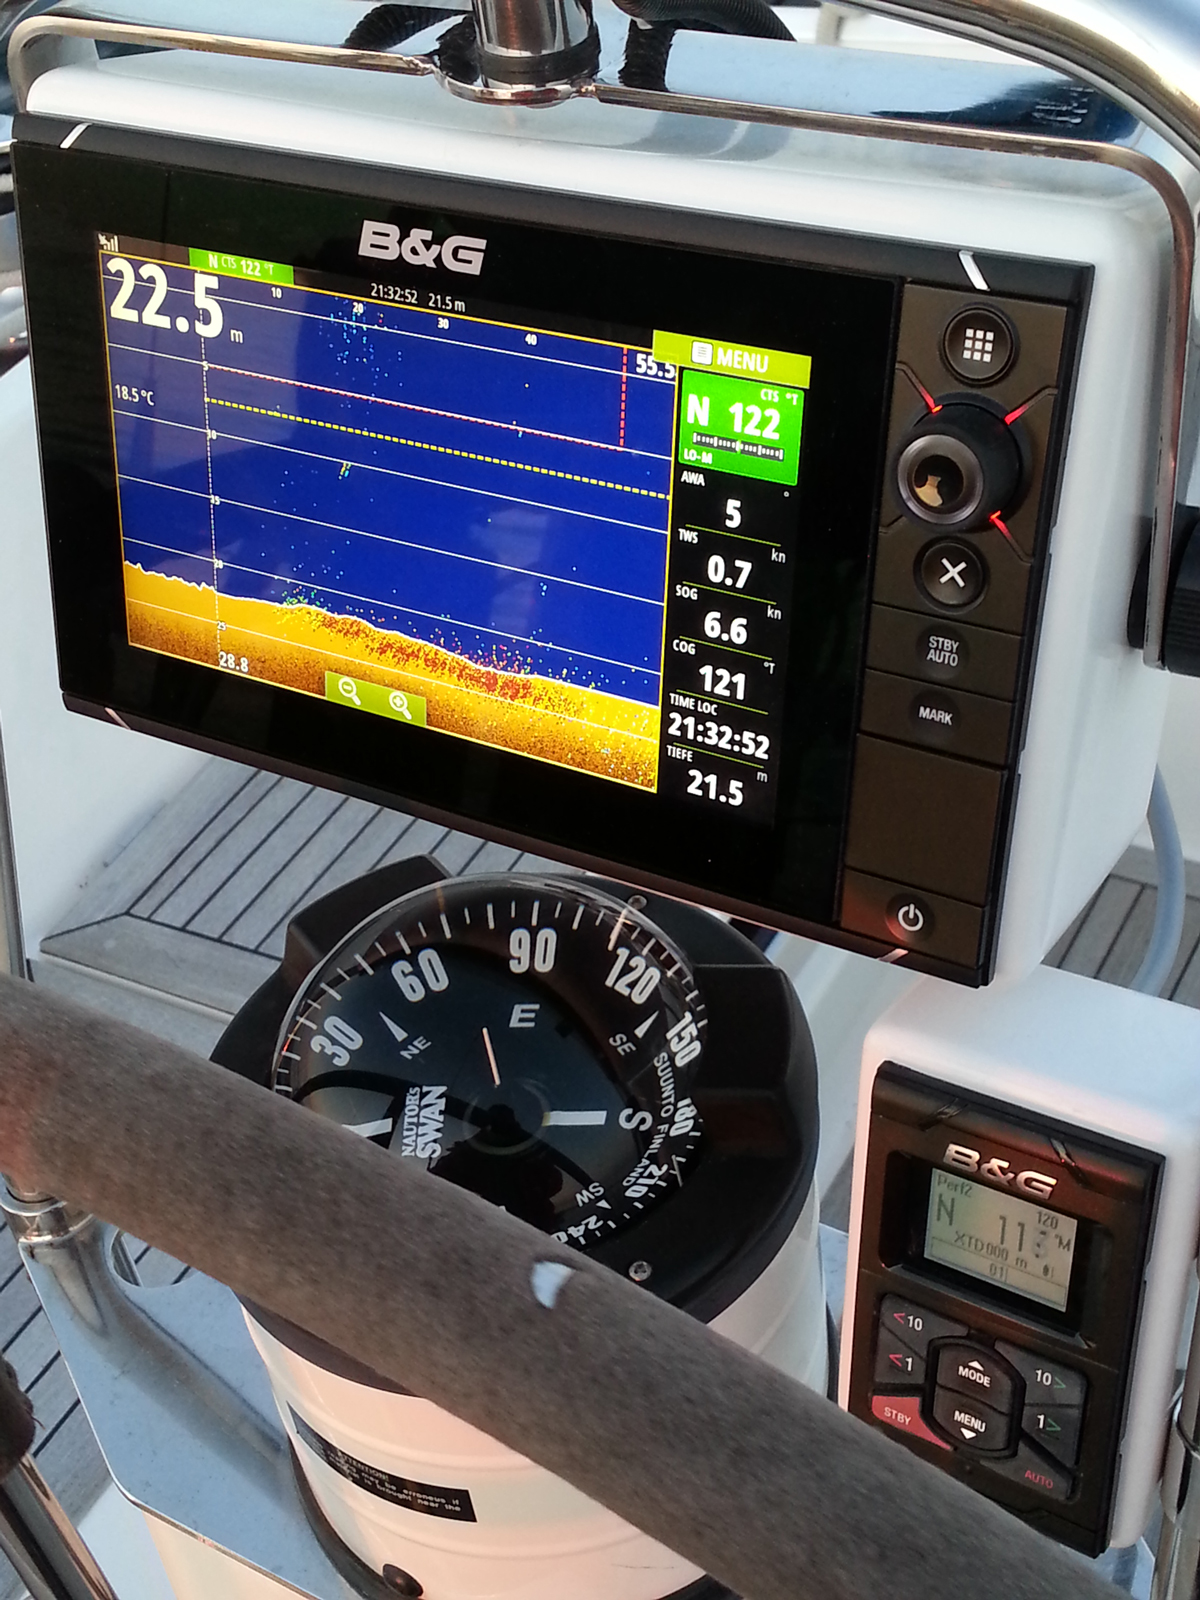
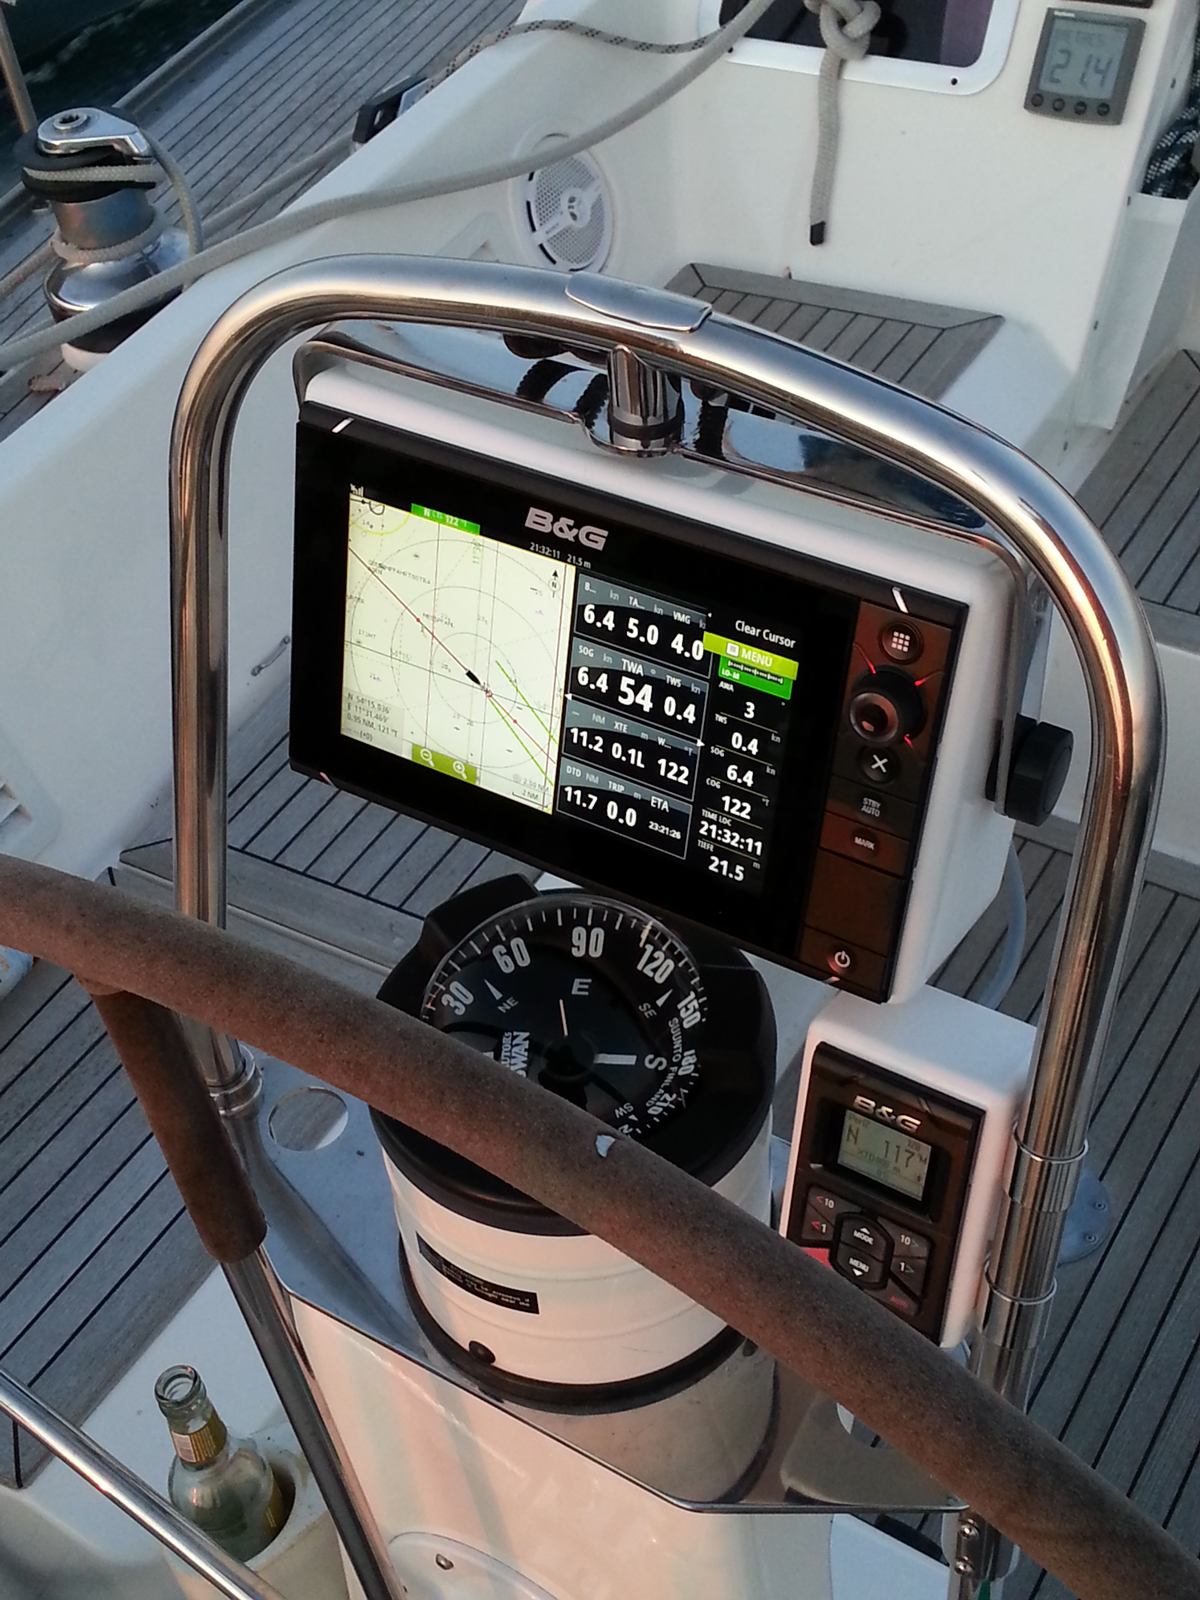
The Plotter Zeus² 9 and the H5000 Pilot Controller will be mounted on our pedestal. Since the comercially available instrument pods are too large and too expensive I attempt to build the pods myself of CFK.
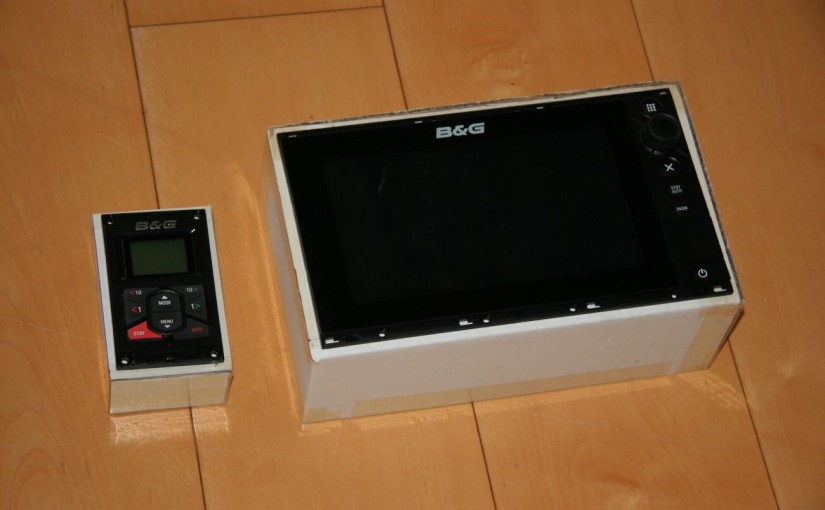
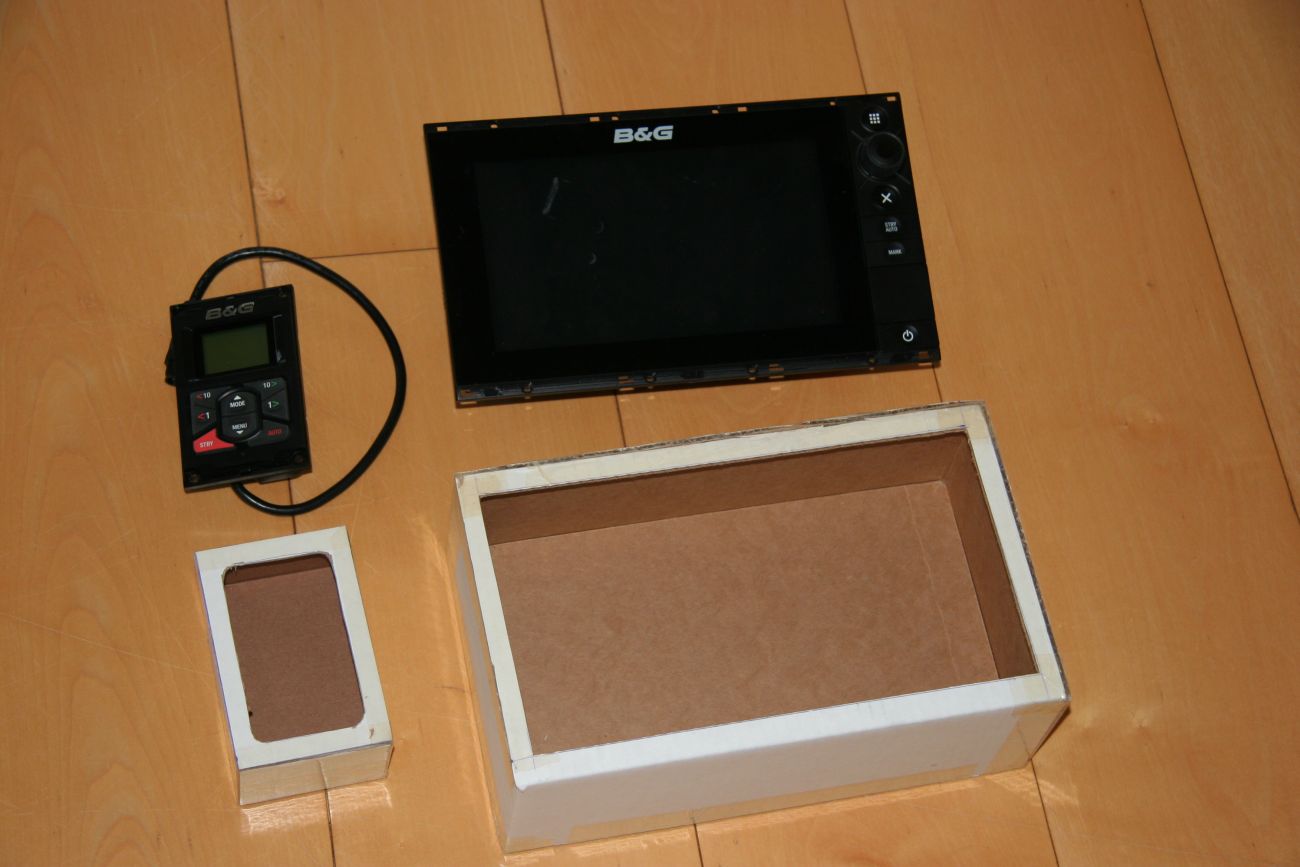
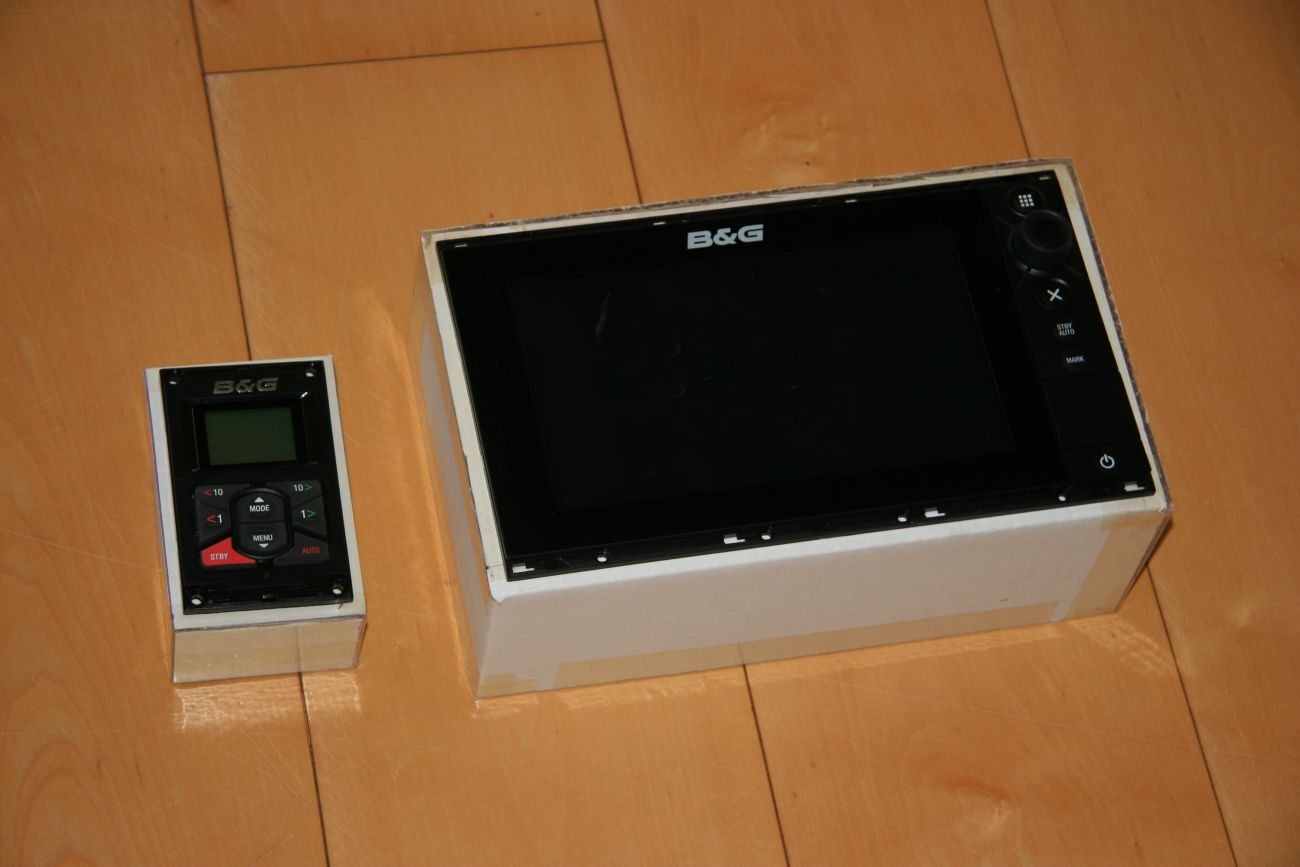
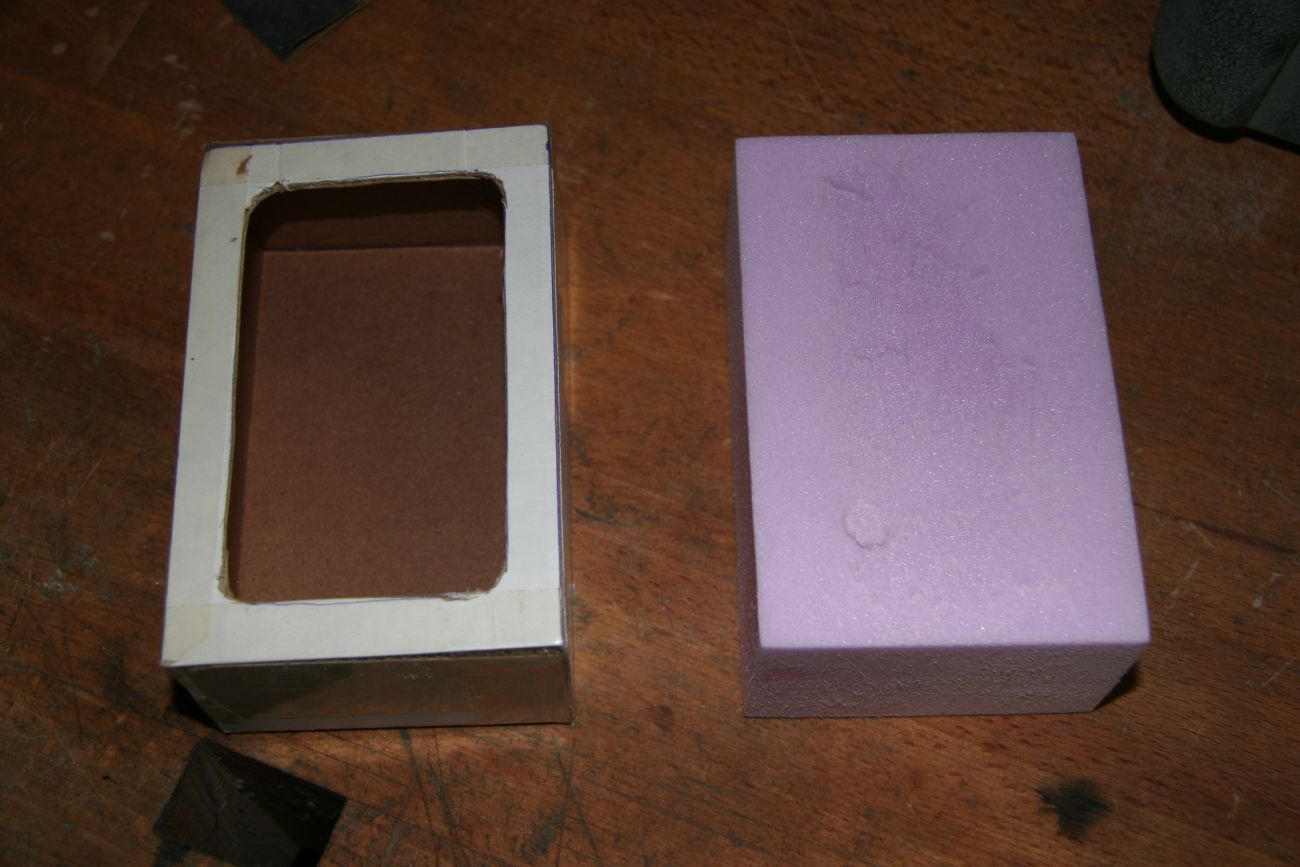
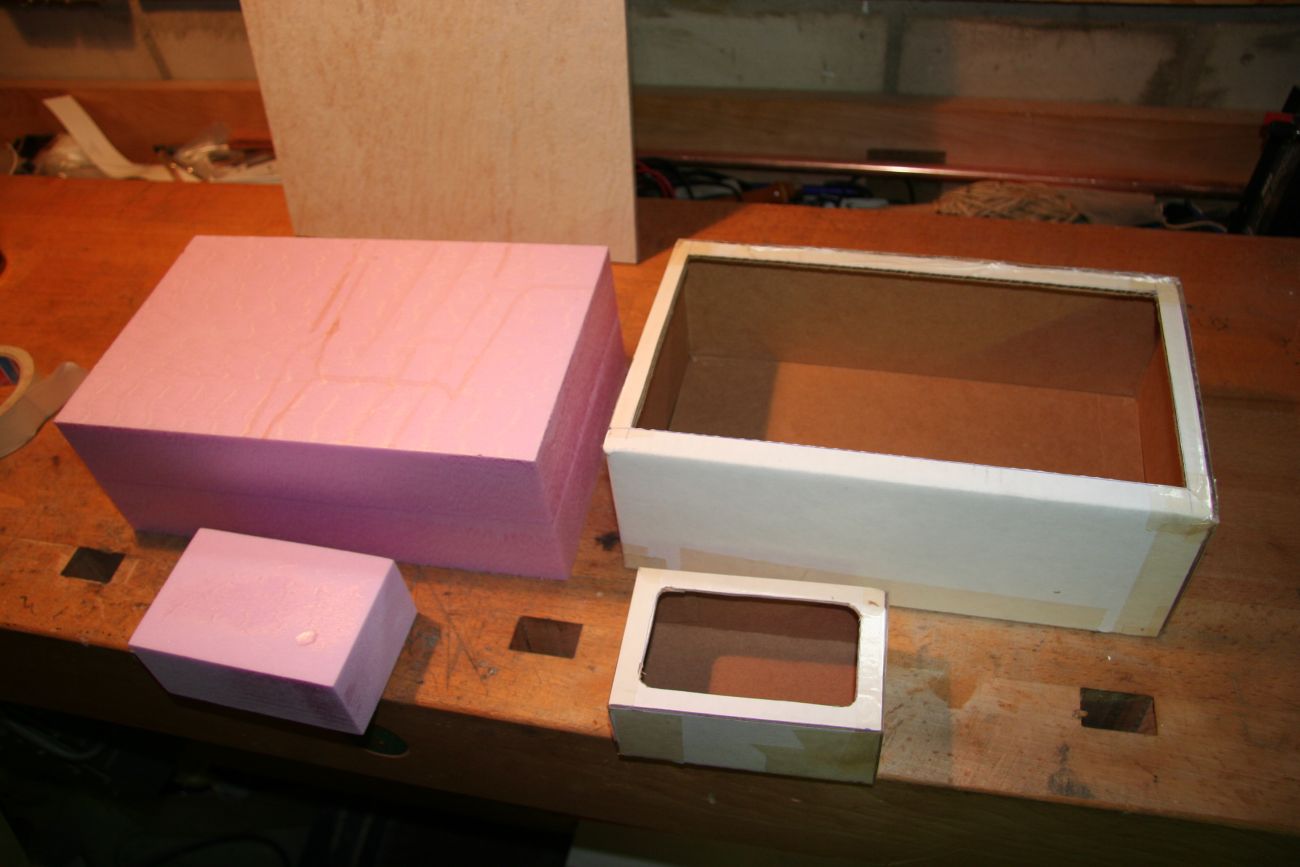
1. Construction of cardbox models of the two pods
2. Construction of a hot wire foam cutter

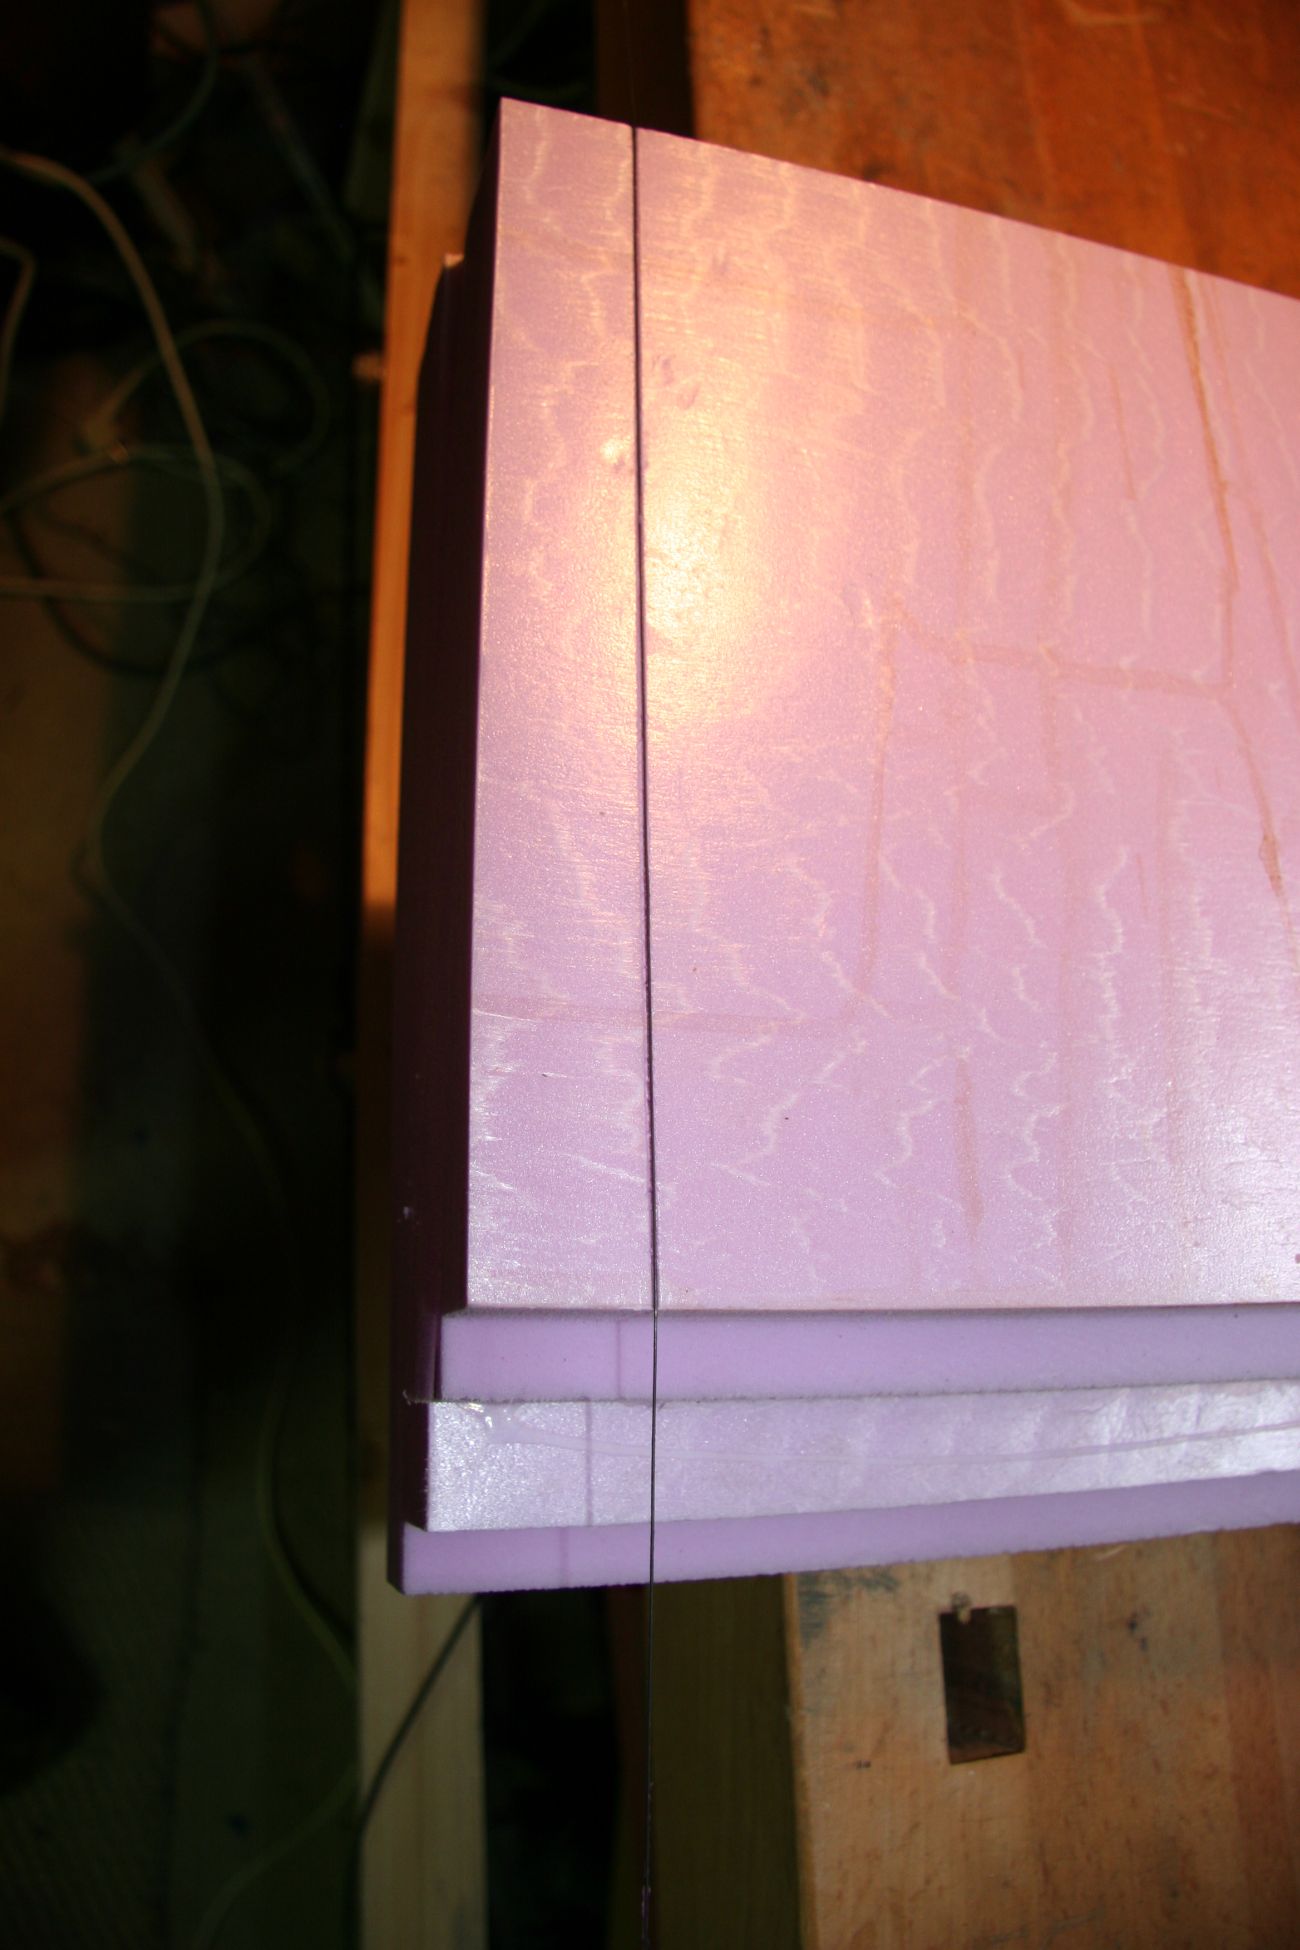
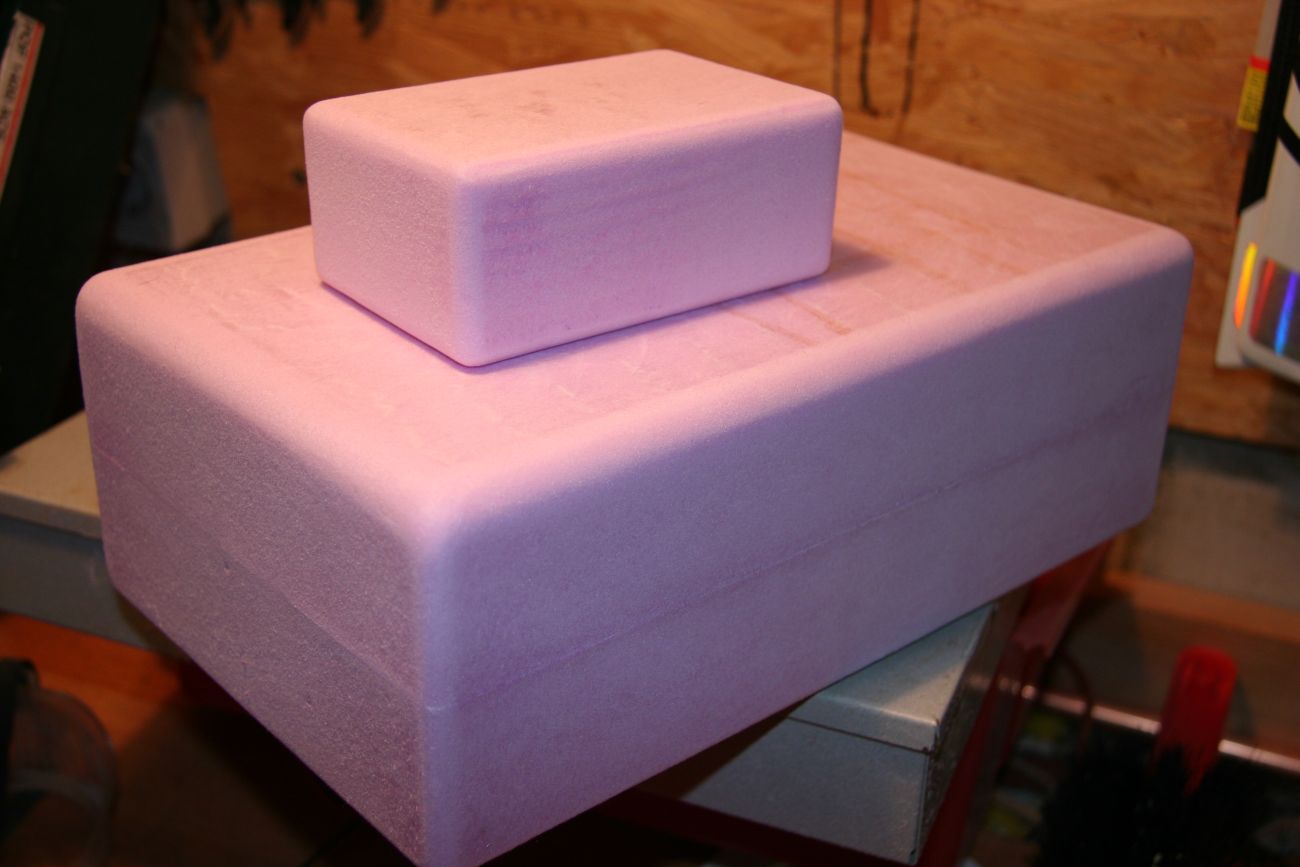
For the larger pod two pieces of foam were glued together using Ponal wood glue.
3. Construction of polystyrol shapes.
3. Rounding of the edges

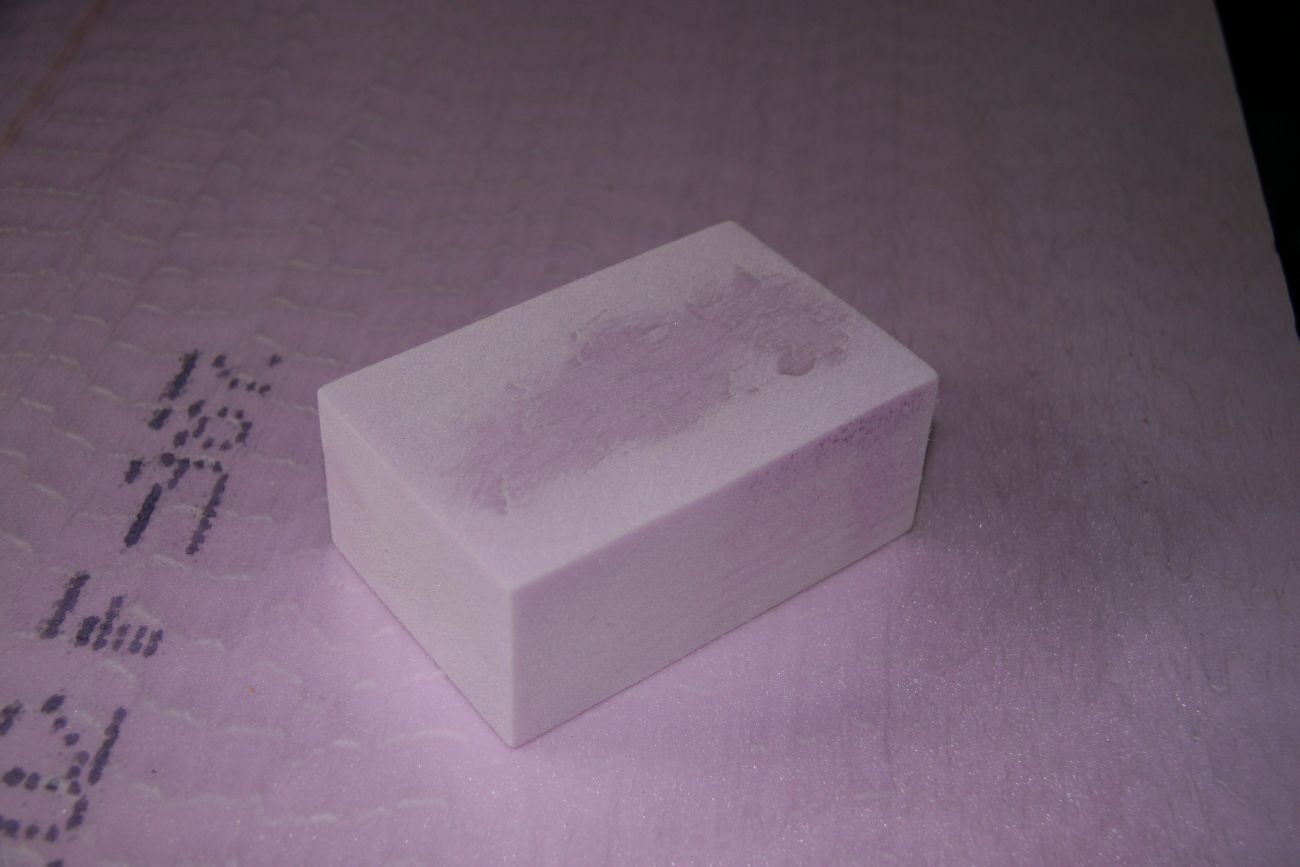
Setting up the router with convex bits. Dangerous! Do not try to mount your router this way at home!
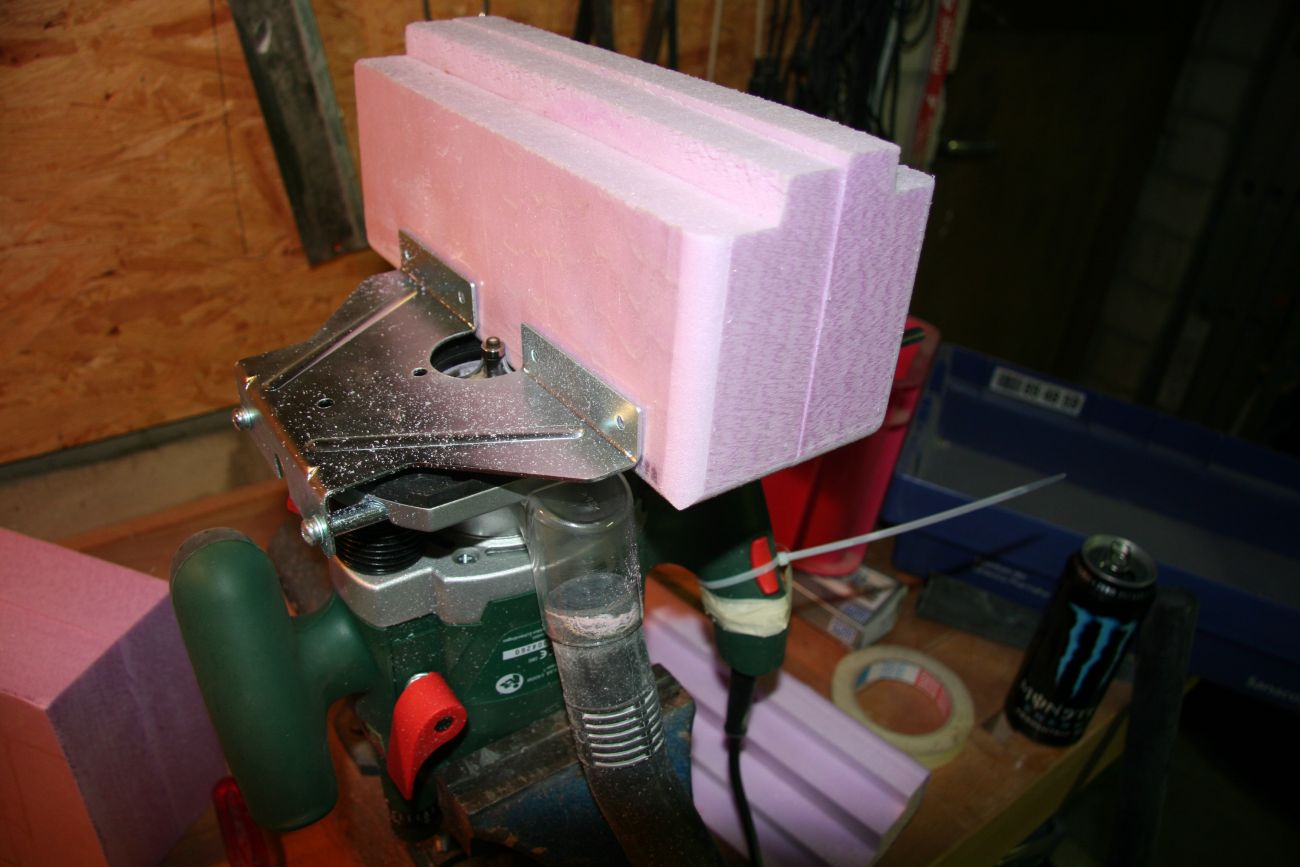
rounding the edges of a test block

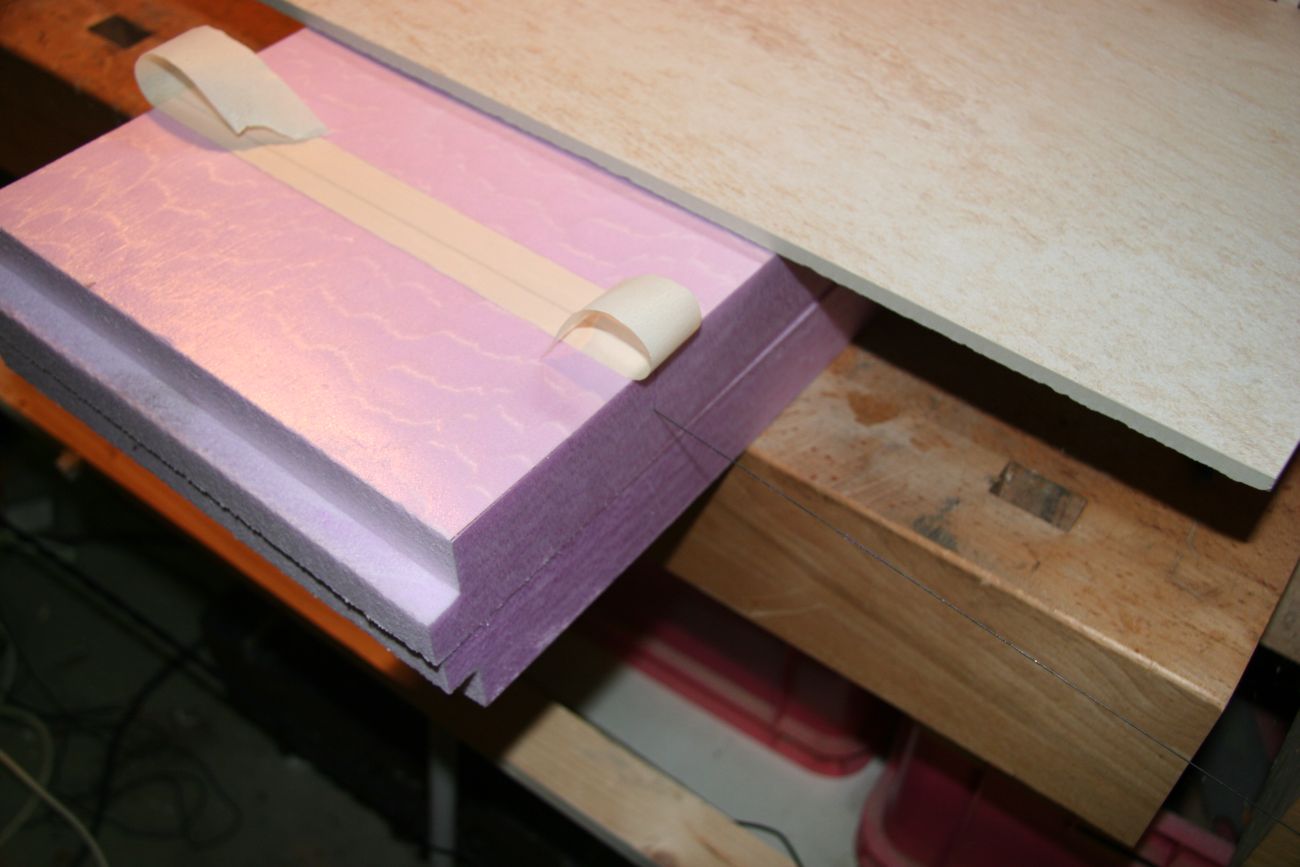
The shapes with rounded edges
The shapes after hand finishing the edges with sanding paper.
4. Laminating
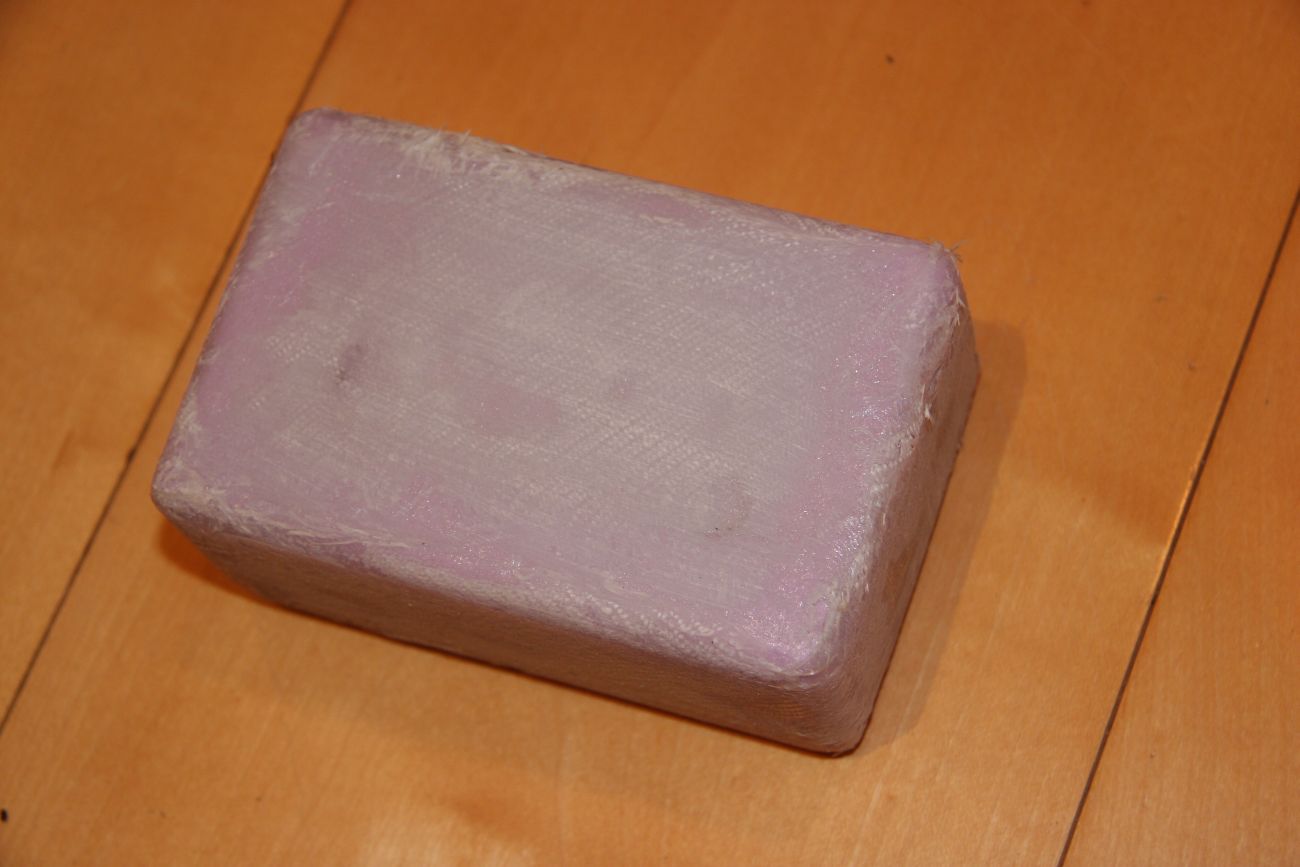
The small blank was laminated with 4-8 layers of 163 g/m² glass Filament fabric (finish twill). The next step was sanding, followed by the next layer of epoxy resin with chopped 3 mm fiberglass fibers around the edges.
5. Sanding and Application of Top Coat
Both pods were sanded. The gaps were filled with thickened epoxy. Then the gaps were filled with Polyester and sanded again. Then several layers of two-component topcoat were apoplied and finally the surface of the pods was sanded up to grid 1600 and polished.
6. Cutting of Holes and Removal of Foam
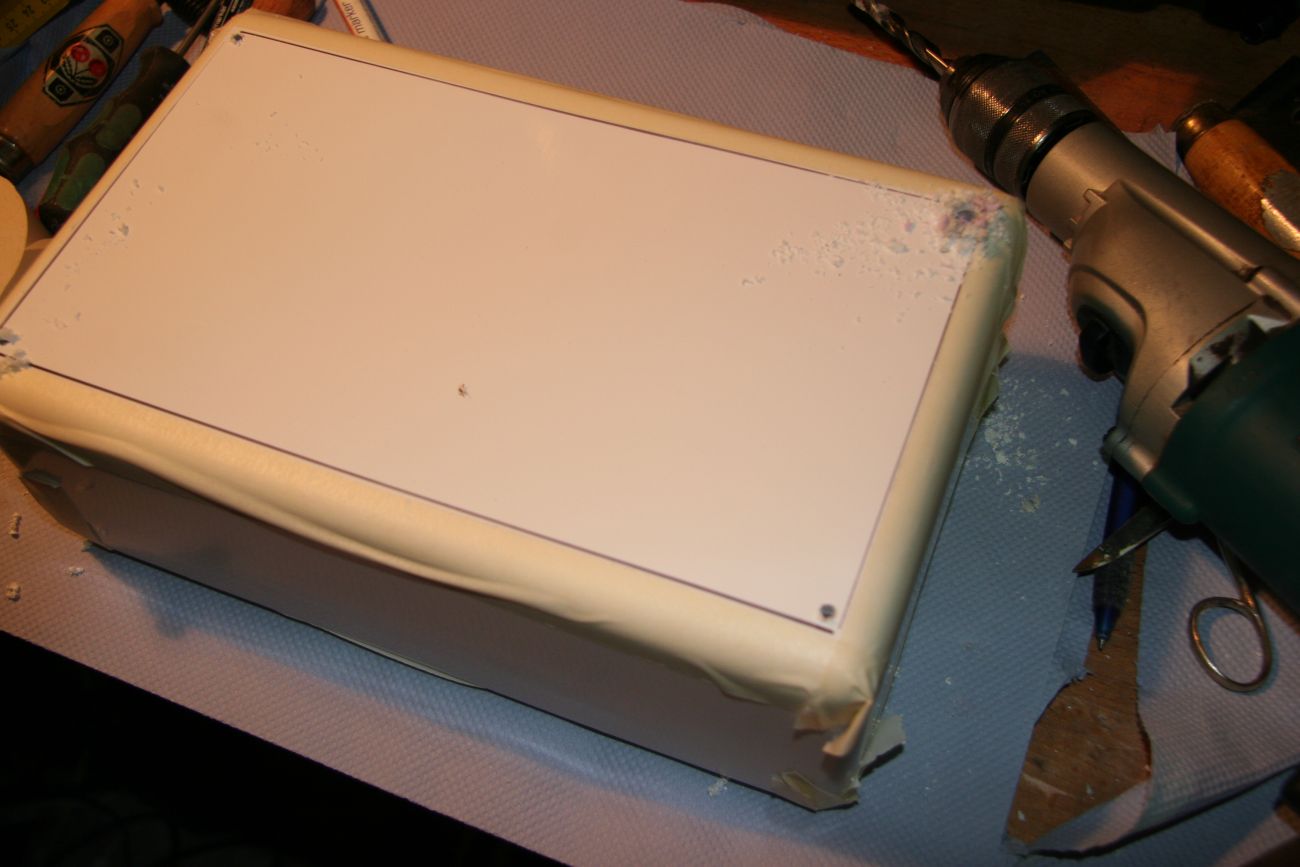
Holes were drilled in the edges of the cut-outs.
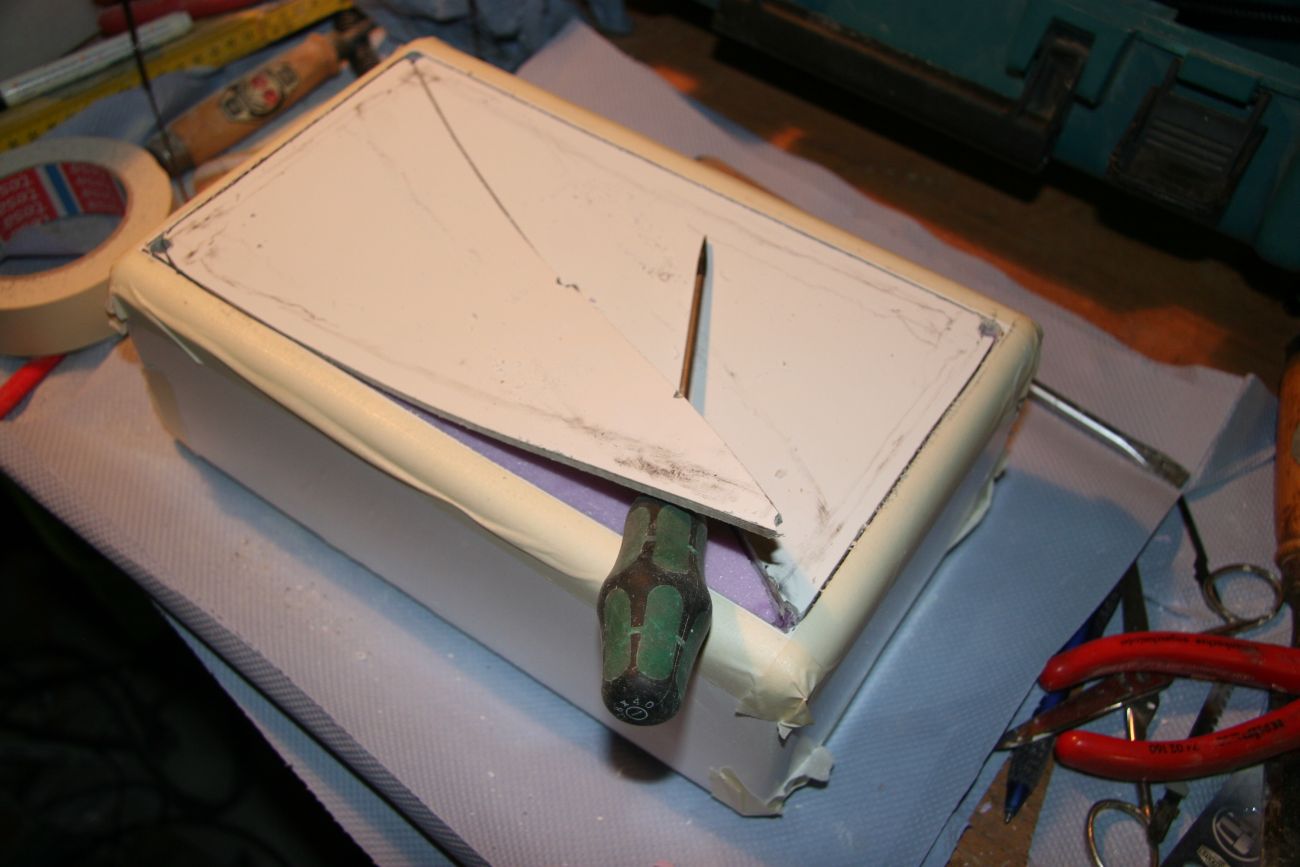
The lines were cut with a jigsaw. This blunted two saw blades.
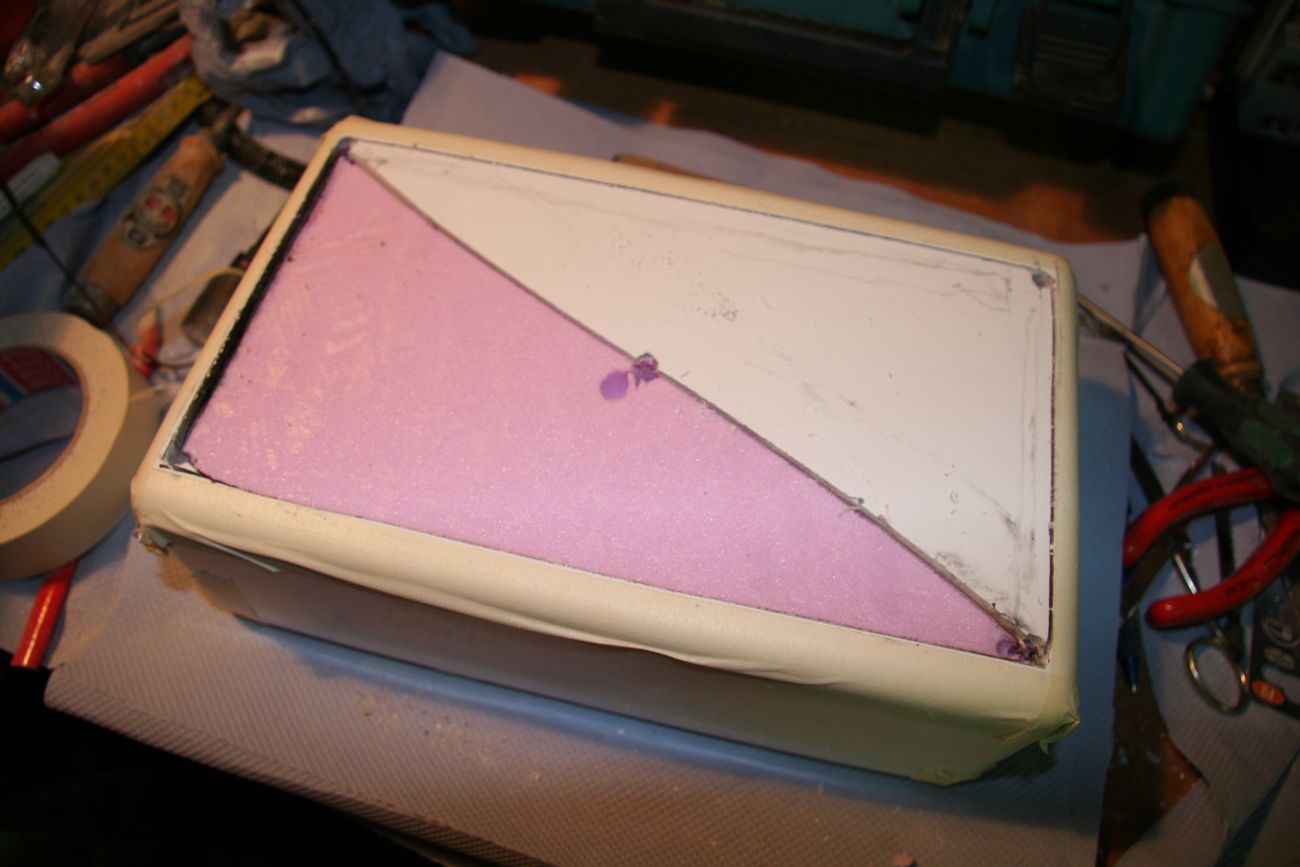
GFRP was removed.
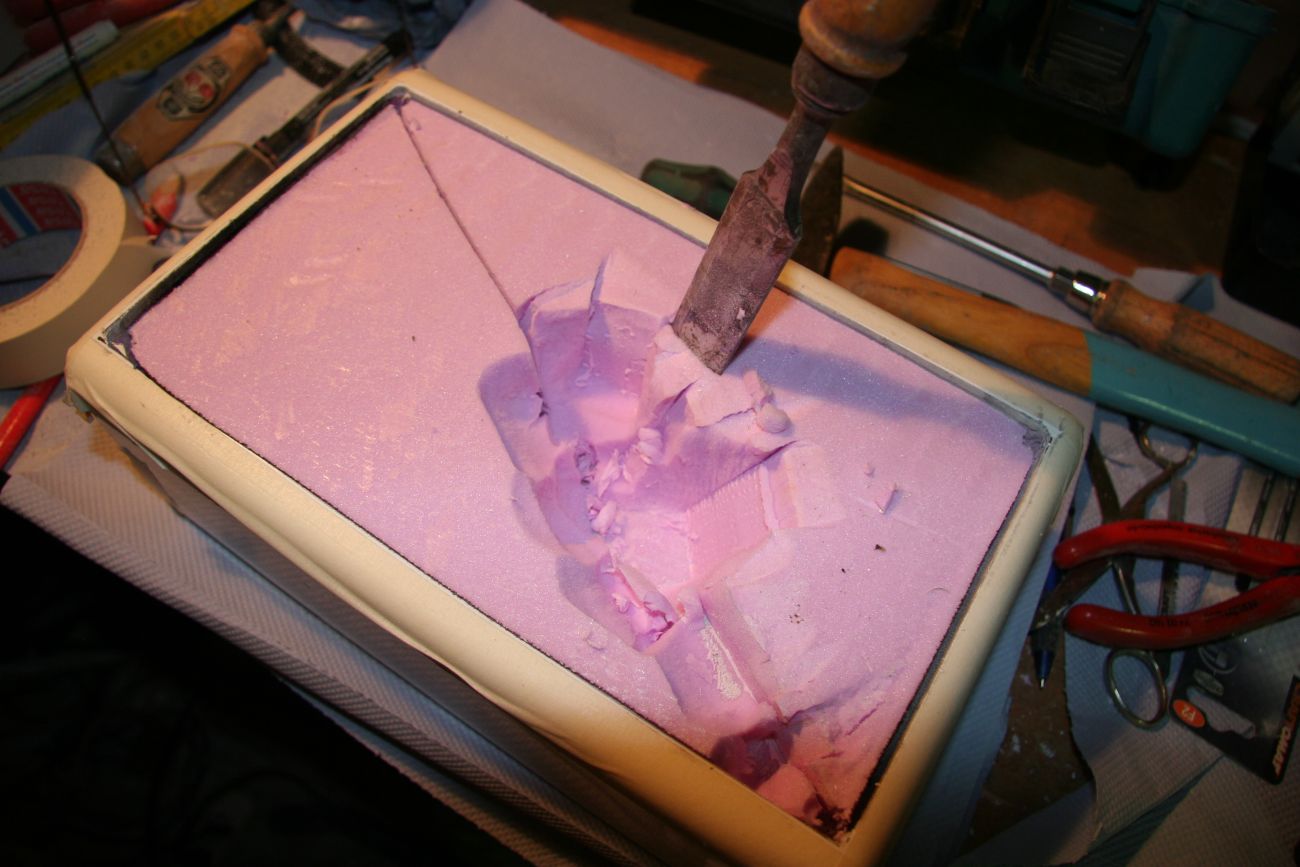
Foam was removed
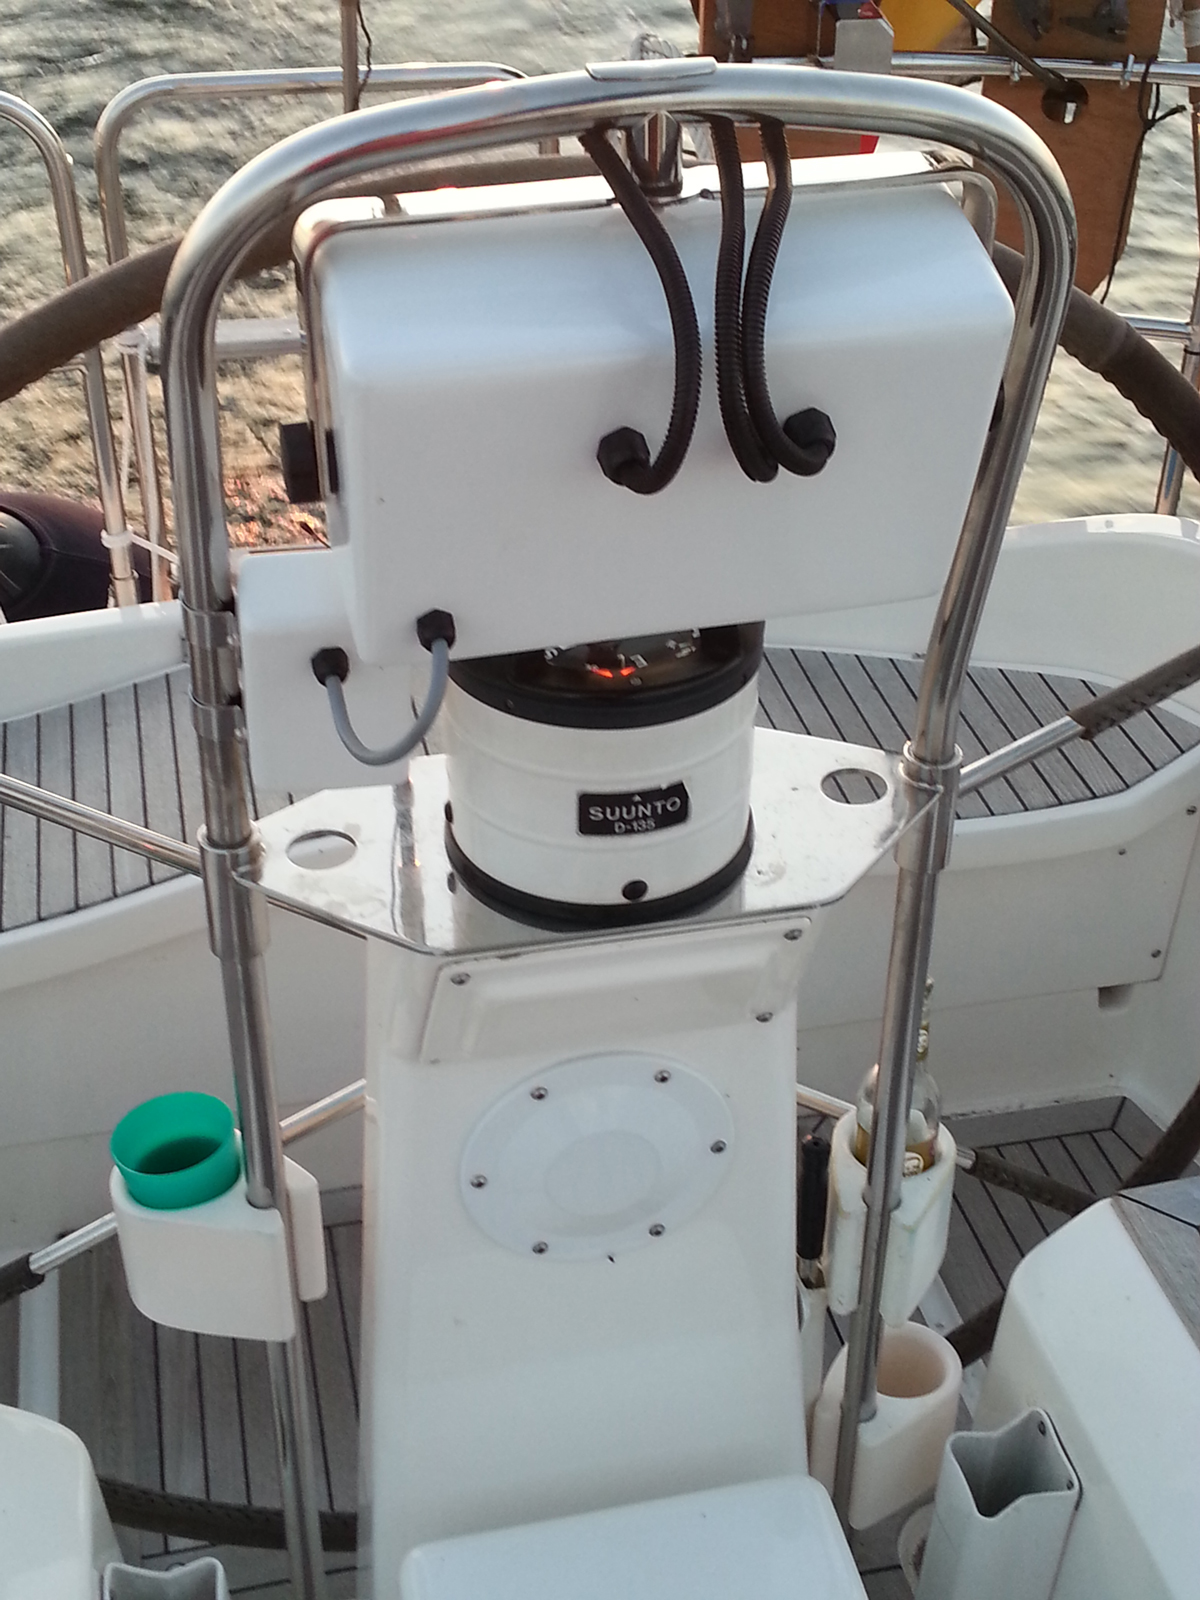
7. Installation of Instruments and Mounting of Pods
The Instruments were fitted and the wires were led through black plastig lead-throughs. Cables were covered with cable tubing. The pods were installed in made-to-measure mounting brackets.
.